DIY

A Tale of Two Spray Guns Part 2

Step 3: Spray Gun #2

With all the trails & tribulations I had with spray gun #1, I decided to use the gun I had borrowed from my friend who flips houses.  This gun also runs on air but is instead a syphon gun instead of a top feed gun.  I poured the paint I had been trying to get work in gun #1 (the thinned & filtered paint) into gun #2.  And Voila!  It worked just fine.

Now ideally when spray painting you should have a well ventilated indoor space in order to paint.  I alas, do not have such a space that I’m willing to get paint all over.  So, I resorted to outside.  There are some drawbacks to painting outside.  First, you may end up with bugs, dirt, etc. in your paint due to wind so try & paint outside on minimally windy days.  Second, you will need to move the furniture inside for the night if you are trying to beat Mr. Cold in the fall.

So with my new borrowed gun working, I first taped the Formica top so as to not paint it.

IMG_6271

And then I got to spraying.  The technique for spraying is pretty simple, spray back & forth.  But there are a couple ground rules that make the quality of the spray better.

1) Always spray past the edge of the furniture before moving back the other direction.  This is because when you turn directions, that surface gets coated twice & can cause uneven coverage which can make the paint job look blotchy. And nobody wants that!

2) Make sure you blow out all the dust before spraying.  I made this mistake and ended up with saw dust in my newly painted surface. Guess who gets to re-sand & spray again?  Yup, this girl.

IMG_6270

3) It is always better to do multiple thin coats, as opposed to less thicker coats.  The reason is that a thicker coat of spray can drip.  Which means more sanding & more spraying to get a flat nice looking surface.  This is what they looked like after coat #1:

IMG_6272

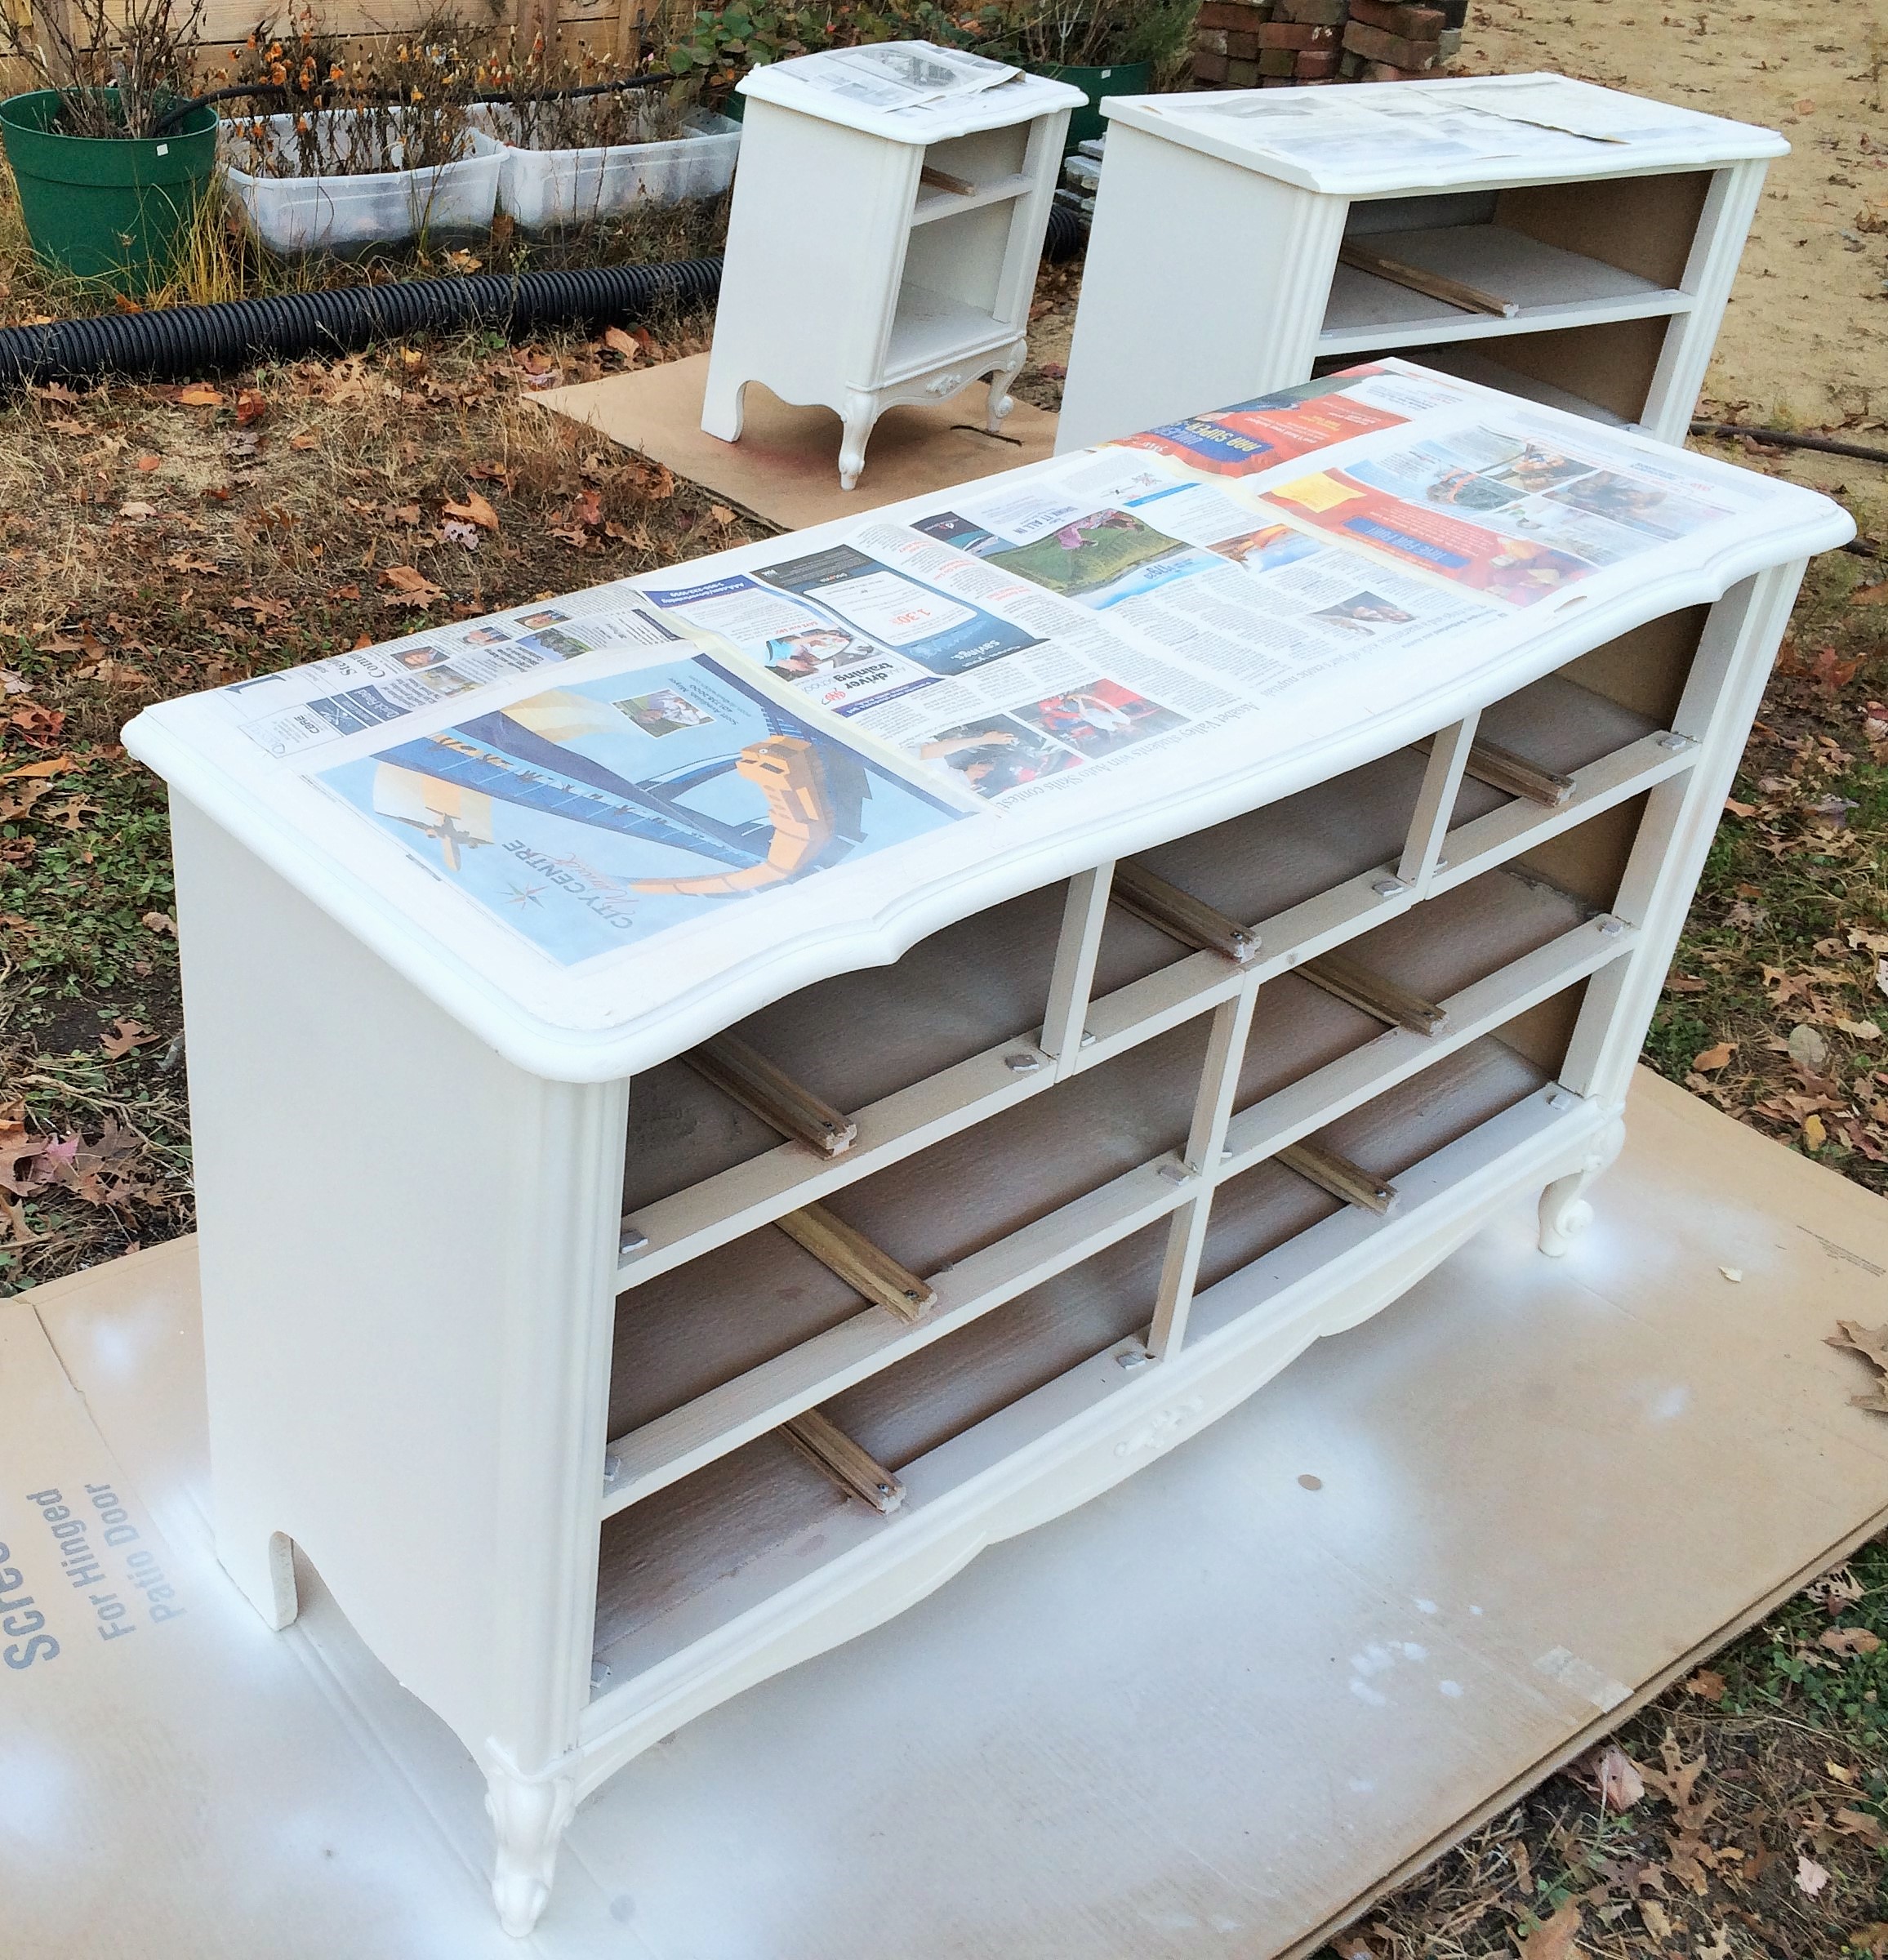
I can already tell with the new color of white a choose they look much brighter & less dingy.

Step 4: Accent color

To be continued….

DIY

A Tale of Two Spray Guns Part 1

I’ve been looking for furniture for my daughter for a while.  The dresser she currently has, my father picked up off the side of the road when I was in elementary school.  It’s made of particle board & has not fared the years well.  The hardware is mostly shot.  Some of the drawers when you pull them out almost fall into your lap or even worse your head because you’re sitting on the floor getting someone dressed for bed, not that that would have happened to me …

IMG_5760

Anyway, my Mother-In-Law happened to see a post on the town related FB page, offering some furniture for free.  The house was less then a 5 minute drive so I asked the woman if I could stop by & take a look.  Needless to say the free furniture came home to live with me.  Alas, they are not exactly high quality pieces.  They’re not IKEA quality (sorry IKEA) but they are not even what I would qualify as Home Depot quality.  They’re sort of eh.

Particle board & Plastic Foot

Thus why I decided to take on this “quick” project to repaint them.

Step 1: Sand & Tack Cloth

Now because the quality on the pieces themselves were not that great, I only sanded the pieces with my 220 grit sand paper just to scuff up the surface.  I was, after all, planning on painting them white over the existing white paint.

While taking off this beautiful hardware … gag ….

IMG_5757

I discovered several things about the previous owners of said furniture.  First, they decided to super glue the handles to the screws.  This made it difficult on several of them to turn the knob to take the hardware off.  The second thing I discovered was that the original hardware required two holes in most cases, not one. So now I will have to deal with puttying up 3 holes on each drawer in order to mount hardware.  Oh joy.

IMG_5758

IMG_6274

IMG_6275

I used my orbital sander for the larger flat areas, & hand sanded the “decoration”, aka plastic drawer fronts & feet.  Keep in mind I was using 220 sand paper for just a quick roughening of the surface.  This allows for the paint to adhere better to the surface you’re applying it to.

Step 2: Spray Gun #1

Now that all the pieces were sanded (two dressers, one night stand, & one vanity), it was time to break out the big guns.  Spray gun that is.  The one I was borrowing I was convinced because it was larger would do a better & faster job. I’ve never set up a spray gun before, but how hard could it be? Ha!  I poured the paint into the gun, attached it to my retractable air hose in my garage, and squeezed the trigger.

Zippo!  All that came out was air. I researched online that you often need to thin latex paint in order to use it in a spray gun.  Ok so using they’re advise, I thinned the paint.  Still nada.  Read some more online & found you need to filter the paint after it’s thinned.  Tried again.  Still more nothing. Well I know when it’s time to retreat.

Later, upon more investigation, my father who was helping me (because let’s be honest it’s not possible to watch two kids & spray paint on furniture) discovered that the probable cause of the larger fancier unit not working was most likely the fact that the filter that’s in the gun was so caked with paint air was barely getting through let alone paint.  The last person to use it neglected to take that piece out to clean it and all the paint dried on it.

Step 3: Spray Gun #2

To be continued ….

Products

Flush Technology

Today’s product is a toilet. But this is no ordinary toilet.

American Standard has created a new toilet bowl technology called VorMax. Instead of having the water drop down the bowl through many holes (like all standard toilets have since forever), it only has one place where the water comes from, thus creating basically a whirlpool around the bowl.

img-vormax-flushing-technology

This technology has gotten some of the highest ratings for solid removal from the bowl.  Not to get personal, but where was this when we were building our house?!?!?!

There are several different models that now have this technology.  Check it out.

Also their commercials are slightly amusing too.

I also would like to know, is there anyone out there that has used one of these toilets? Does it live up to all they say it is? Please let me know because I’ve been let down by clean bowl & powerful flush claims before.

I was not paid for this product endorsement. The thoughts expressed are solely my own ramblings.